
What Is Sourdough?
Sourdough bread is made using wild yeast only — not commercial yeast — and a living mixture known as the “mother” or starter. This starter is cultivated by combining flour and water and allowing it to ferment naturally over several days.
As the mixture ferments, it develops a distinct sour aroma and becomes full of beneficial bacteria and natural yeast. These microorganisms are what make sourdough not only flavorful but also a gut-friendly and nutrient-rich bread option.
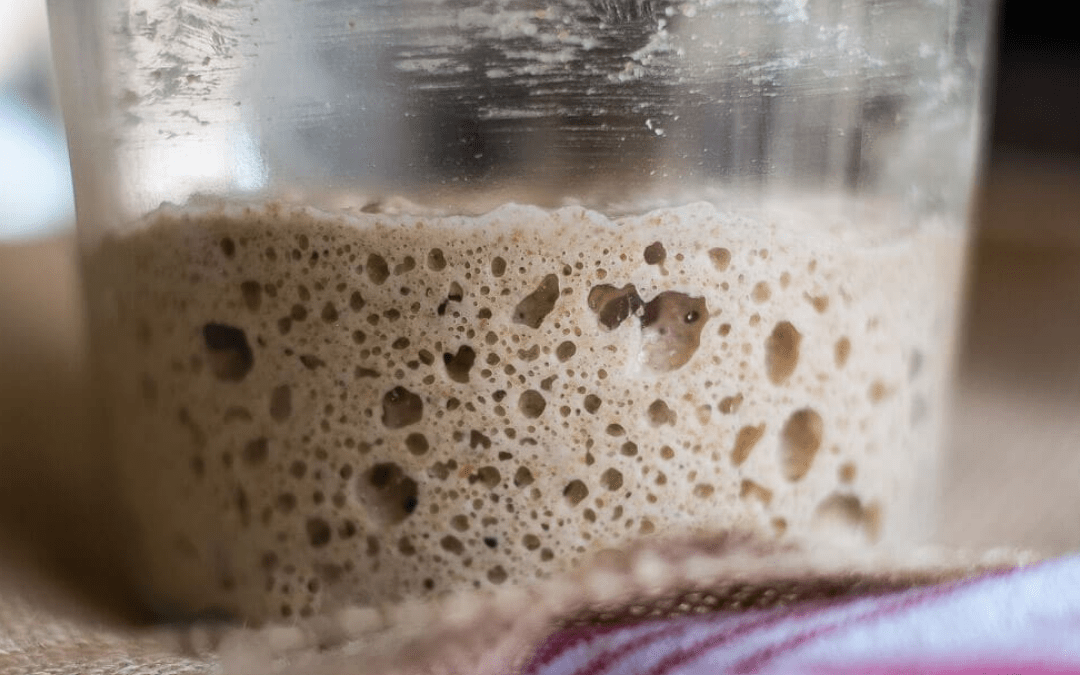
You’ll know your starter is active when you see bubbles forming and your starter is growing in size — a sign that the good bacteria are busy creating your future loaves of bread. Once established, your sourdough starter can last indefinitely with regular feeding, so you never need to start over again.
Why Every Starter Is Unique
No two sourdough starters are the same — and that’s part of the magic.
Each kitchen has its own microbiome, temperature, humidity, water quality, and flour characteristics, all of which influence the personality of your starter.
The smell, rate of fermentation, and flavor will be unique to your space and ingredients — your sourdough will truly be one of a kind.
How to Make Your Sourdough Starter
Day 1
- Mix 50g flour + 50g water in a clean tall/cylinder glass Weck jar.
- Stir well with a stainless steel spoon, scrape the sides down with a small spatula, and cover loosely with the Weck jar lid so gases can escape.
- The mixture will be thick. Leave it on the counter at room temperature.
Day 2
- Add 30g flour + 30g water, mix thoroughly, and scrape down the sides.
- Cover loosely again and leave on the counter.
- You may notice bubbles or a slight bounce in texture — that’s a good sign. If not, don’t worry; every starter develops differently.
Day 3
- Feed again with 30g flour + 30g water, stir, and cover loosely.
- Some starters will show bubbles today; others may take until Day 4.
Day 4
- You’ll likely see more bubbles and growth — your starter is alive and active!
- Discard half of the mixture (save it in a mason jar in the fridge for recipes like sourdough pancakes).
- Feed with 30g flour + 30g water, mix well, scrape the sides, and cover loosely.
- The smell may be vinegary, sour, or even like paint — this is normal fermentation at work.
- Optional: Use a marker or elastic to track the growth level on your jar.
Day 5
- Continue feeding with 30g flour + 30g water, stir, scrape down, and cover loosely.
- Bubbles may come and go — that’s perfectly fine.
Day 6
- Discard half of your starter again (add to your discard jar if you’d like).
- Feed with 30g flour + 30g water, mix, scrape, and cover loosely.
- Every starter behaves differently — trust the process.
Day 7
- Feed once more with 30g flour + 30g water and leave at room temperature.
- Once the starter doubles or triples in size and smells pleasantly tangy, it’s ready to use!
- You now have your very own sourdough starter — the foundation for countless breads, pancakes, and pastries.
Maintaining Your Starter
After baking your first loaf:
- Store the starter in the refrigerator with the lid clipped on.
- Before each use, remove your starter from the fridge, allow it to warm up for one hour, feed it with 30g flour + 30g water, and allow it to sit at room temperature until it doubles or triples in size again.
- The growth of the starter is more important than the number of bubbles — look for expansion as the sign of readiness.
Equipment You’ll Need
For the Starter
- Medium or large glass bowl
- Flour (bread or all-purpose; higher protein = better results)
- Bread flour: 12–14% protein
- All-purpose flour: 10–12% protein
- Organic flour is preferred
- Some bakers find rye flour feeds their starter better — experiment to see what works in your kitchen.
- Bread flour: 12–14% protein
- Clean water (reverse osmosis, filtered, or tap water left overnight on your counter to reduce chlorine)
- Stainless steel Tablespoon (any from your kitchen)
- Small spatula (LINK)
- Weck jars (Weck 744, 580ml tulip jars, or tall cylinder jars) — you’ll need clips, but not the rubber seals, for fridge storage.
For Baking Bread
- Banneton basket (for proofing)
- White rice flour (for dusting the banneton)
- Bread lame (for scoring dough)
- Le Creuset or cast-iron pot with a tight-fitting lid (for baking)
- Transparent plastic shower caps (to cover dough while proofing)
- ThermoPro TP50 Digital Hygrometer/Thermometer (optional, for monitoring room temperature and humidity)